Toys for 2 Year Old Development: Match Skills Step by Step
8/29/2026
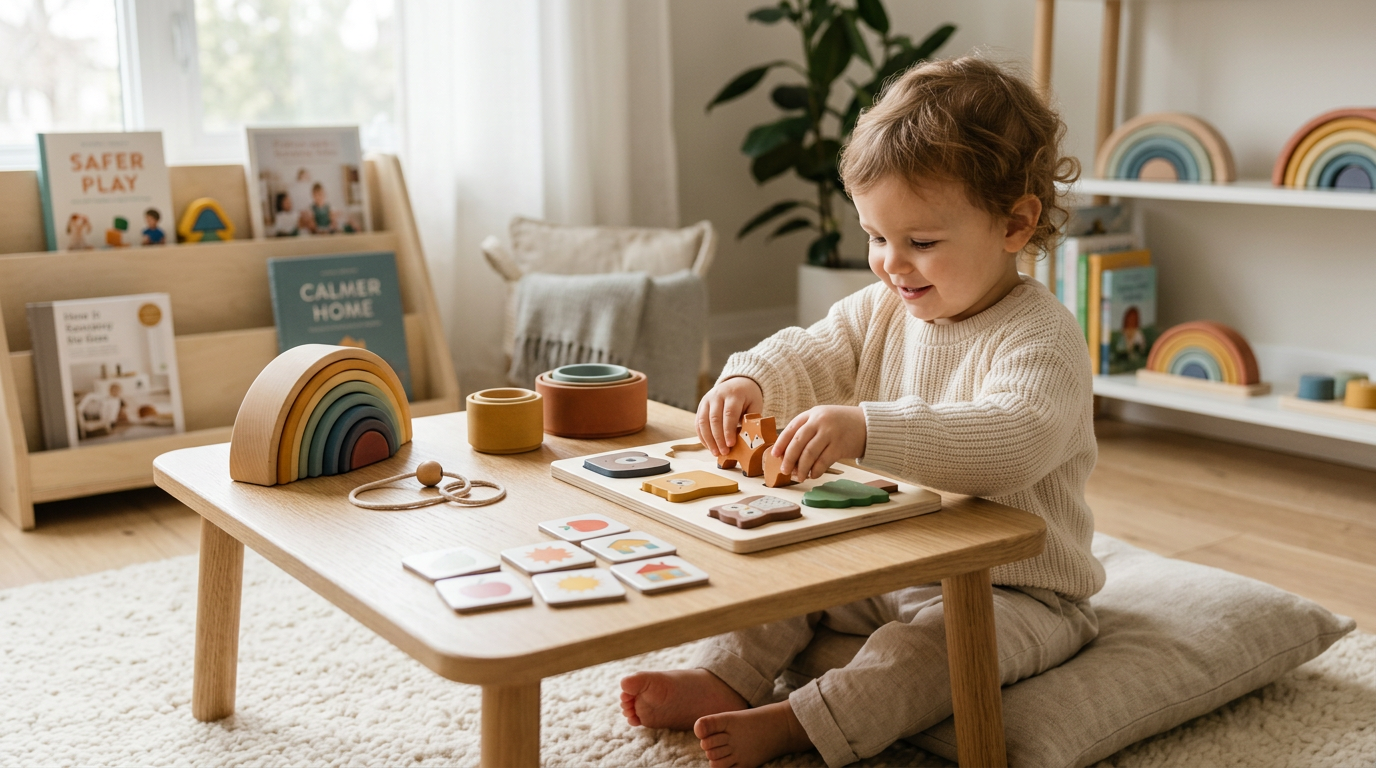
Toys for 2 Year Old Development: Match Skills Step by Step
You watch your two-year-old every day and notice new moves, new words, and new ways they explore. The right toys for 2 year old development line up with those exact skills instead of adding more clutter.
Parents often wonder which toys actually help a child grow and which ones just add to the mess. Our guides break down the stages so you can choose with confidence and skip the rest.
Key takeaways
- Match toys to gross motor, fine motor, language, and social skills
- Use a simple rotation system to keep play calm
- Focus on safer choices and what to skip
- Grab printable tools that fit your evening routine
Spot the Key Skills at Age Two
Two-year-olds practice big movements, small hand work, first words, and pretend play all at once. You see these skills show up in daily moments like climbing onto a chair or stacking blocks. Track them over a week by noting what your child tries most often during free play.
Here is a quick list of typical skills:
- Runs and climbs with growing balance
- Throws and kicks a ball
- Stacks blocks and turns pages
- Uses simple phrases and points to name things
- Copies actions in pretend play
- Shows interest in other children
- Begins to sort objects by color or shape
- Enjoys simple songs and rhymes
Check the CDC milestones for two-year-olds for a full list from health experts. This helps you see where your child sits without pressure.
Step 1 – Pick Toys That Build Gross Motor Skills
Start with toys that let your child move their whole body. These choices support the energy they already have and keep them active without needing extra space. For example, a low push toy lets them practice walking while you stay nearby for balance.
Try these options:
- Push toys or small wagons
- Soft balls for rolling and kicking
- Low climbing structures or foam steps
- Ride-on toys without pedals
- Tunnels for crawling and hiding games
A quick rule: one gross motor toy out at a time works best for most families. Watch for fatigue after 15 minutes and offer a quiet option next.
Step 2 – Choose Fine Motor and Problem-Solving Toys
Next, look for items that build hand strength and thinking. Your child practices these when they fit shapes or open latches. Trade-offs appear here: larger pieces reduce frustration but smaller ones build precision once your child shows steady hands.
Add these to the mix:
- Shape sorters with large pieces
- Stacking rings or cups
- Simple puzzles with 4-6 pieces
- Wooden blocks in different sizes
- Latch boards with big knobs
Toys that grow with your child through age 3 often cover both motor areas at once. One parent-tested set lasts from 18 months to three years when pieces stay age-right.
Step 3 – Add Language and Social Play Items
Language grows fast when toys invite talking and copying. Pretend play with everyday objects helps here too. You might hear new words when your child feeds a doll or talks on a toy phone.
Keep the list short:
- Board books with clear pictures
- Play kitchen tools or dolls
- Toy phones or microphones
- Puppets for back-and-forth play
- Dress-up scarves or hats
These picks create happier everyday play without extra bins. Pair one language toy with a motor toy during the same session for combined practice.
Match Toys to Daily Routines
Link toys to real moments like morning play or bath time. This makes choices feel natural instead of forced. A shape sorter near the table works during snack cleanup, while books fit the bedtime wind-down.
Use these pairings:
- Morning energy matches push toys
- Quiet afternoons suit puzzles
- Evening stories use board books
- Outdoor time includes soft balls
One family found their two-year-old stayed engaged twice as long when toys matched the room they already used.
Set Up a Simple Toy Rotation System
A rotation keeps only a few toys visible and cuts daily mess. You swap items every week or two based on what your child reaches for most. Start small with three bins labeled by zone.
Follow these steps:
- Sort current toys into three groups
- Keep one group out in low bins
- Store the rest out of sight
- Rotate one group in each week
- Check what still holds interest
- Note any broken pieces during the swap
Learn the full toy rotation method for toddlers to see zone planning in action. The system fits busy evenings because each swap takes under 10 minutes.
What to Skip for Safer Toy Choices
Some toys add clutter or small parts that do not match this age. You can spot them quickly with a few checks. Review labels for age ranges and material notes before any new item enters the play space.
Skip these:
- Toys with small detachable pieces
- Battery items that make all the noise
- Items labeled for older ages
- Overly large sets that never get used
- Anything with strings longer than 12 inches
Follow the CPSC toy safety guidelines from the government for clear hazard lists. This keeps choices practical without extra worry.
Quick Comparison of Toy Types
| Toy Type | Main Skill Supported | Typical Play Time | Clutter Level |
|---|---|---|---|
| Push toys | Gross motor | 15-20 minutes | Low |
| Shape sorters | Fine motor & thinking | 10-15 minutes | Medium |
| Board books | Language | 5-10 minutes | Low |
| Pretend kitchen sets | Social & language | 20-30 minutes | Medium |
| Latch boards | Fine motor | 10 minutes | Low |
Use Printable Checklists and Labels
Printable tools help you stay consistent. Print a checklist of current skills, label bins by zone, and keep a simple weekly reset list on the fridge. These sheets turn guesswork into a calm habit you repeat each Sunday evening.
Try this short list for your reset:
- Return items to labeled bins
- Rotate one group out
- Wipe surfaces in 5 minutes
- Note which toys your child ignored
- Check for wear on wooden pieces
Grab the weekly playroom reset checklist to make the habit stick. Many parents add one new label each month as skills shift.
Your Next Step for Happier Everyday Play
Pick one skill area from the lists above and choose two matching toys this week. Add the rotation steps and print a simple checklist. You will see calmer spaces and more focused play within days.
- Download the PDF guide that fits two-year-olds right now
- Start the rotation with toys already in your home
- Track one new skill each week
- Swap items before boredom sets in
- Review safety labels on every new toy
FAQ
How many toys should stay out at once for a two-year-old?
Keep four to six items visible. This number matches typical attention spans and keeps the floor clear.
What if my child loses interest in every toy quickly?
Rotate sooner rather than later. A fresh item from storage often restarts play without new purchases.
Are wooden toys better than plastic at this age?
Wooden toys often last longer and support grip strength. Choose either as long as they meet safety labels and match current skills.
How do I know when to move to the next stage?
Watch for new skills like longer sentences or steady climbing. When those appear, add one new toy type and rotate older ones out.
Where can I find parent-tested printable tools?
Our guides include checklists and labels written by parents and reviewed with pediatric input. Start with the one that matches your current stage.