Toy Swap With Other Parents: Fresh Play Without Clutter
8/29/2026
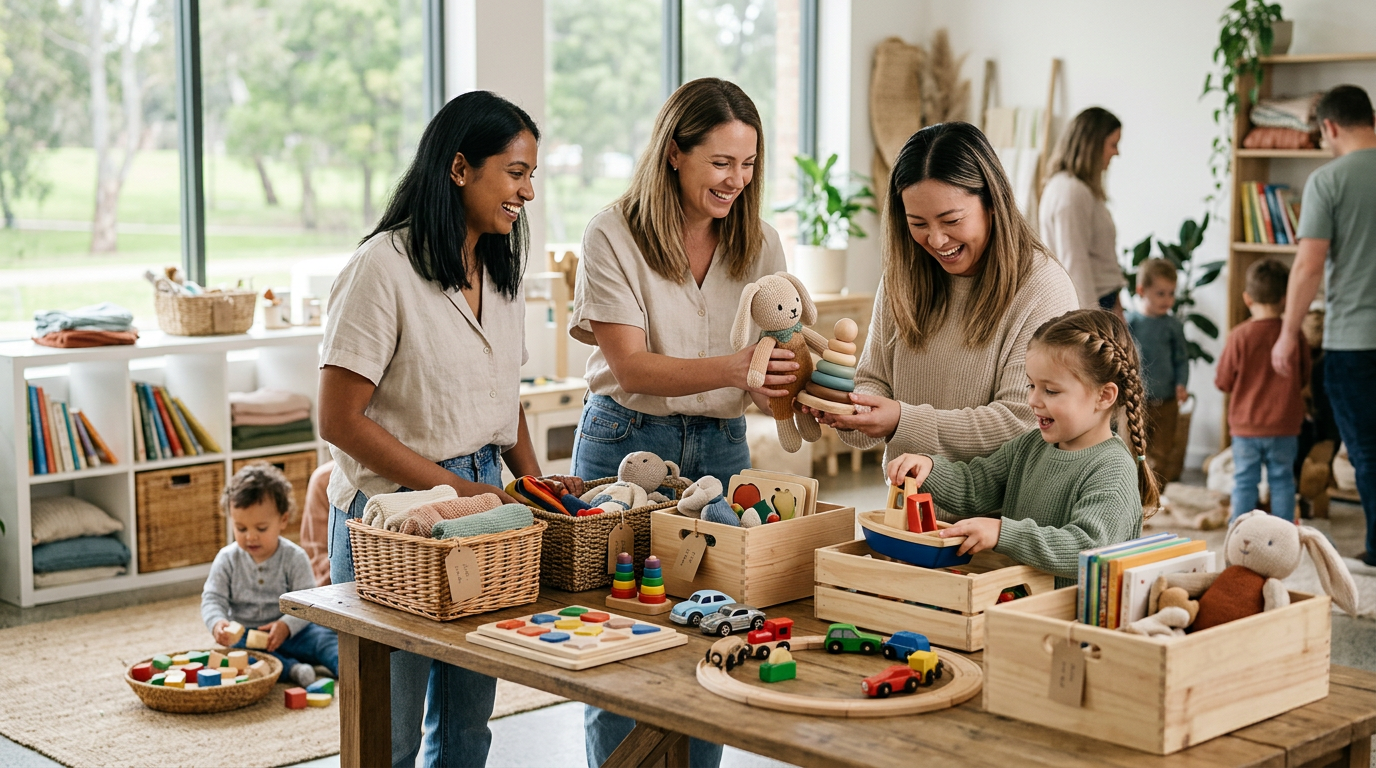
Toy Swap With Other Parents: Fresh Play Without Clutter
Parents often find themselves staring at the same toys every day while their child loses interest fast. A toy swap with other parents gives you new options without buying more or adding bins.
Key takeaways
- A toy swap keeps play fresh and cuts daily clutter.
- Safety checks and simple rules make swaps easy.
- Rotation methods and checklists keep everything calm.
You can run one in an afternoon and see real changes in your play space right away.
Why a Toy Swap Beats Buying New
New toys add to the pile and the cost. Swapping lets you trade what you already own for something different that still matches your child's stage.
It also builds a small network of parents who understand the same daily mess. Many families notice their kids play longer with swapped items because the novelty feels real again. One mom in our circle traded a set of stacking rings for a shape sorter and watched her 11-month-old stay engaged twice as long as before.
Trade-offs appear quickly too. You skip the guesswork of online reviews and get parent-tested feedback on the spot. The result is happier everyday play with less money spent and fewer items crowding the floor.
How to Start Your Toy Swap With Other Parents
Pick two or three parents you already see at the park or playgroup. Keep the first swap small so no one feels overwhelmed.
Send a quick text with date, time, and a note to bring only clean toys in good shape. Meet at one house or a park bench and trade for a set time, like two weeks.
- List the age range of each child before you meet.
- Agree on a return date so toys cycle back.
- Decide on a simple rule: no more than five items per swap.
- Bring a bag or bin for easy transport.
- Note any special interests like cars or soft animals ahead of time.
- Confirm everyone has a way to reach each other after the swap.
Safety Steps Before You Trade
Every toy needs a quick check even when it comes from a friend. Use this five-step process for secondhand toys so you catch loose parts or small pieces fast.
Look for labels that show age guidelines. Skip anything with broken edges or missing pieces. Parents who swap regularly say this step takes less than two minutes per toy once you get the habit.
Before handing over any item, run through this short checklist:
- Inspect for cracks, sharp edges, or peeling paint.
- Test small parts with a choke tube if you have one handy.
- Wipe surfaces with a damp cloth and mild soap.
- Check strings or cords are shorter than six inches.
- Confirm no recalled items by glancing at the CPSC toy recall list.
These quick checks keep the swap safe and align with the calmer play spaces you already want.
What Toys Work Best in a Monthly Toy Exchange
Focus on open-ended items that travel well. Blocks, simple puzzles, and soft books usually move between homes without issues.
Avoid anything with batteries or tiny parts that could get lost. Compare options side by side so you pick the right fit.
| Toy Type | Good for Swap | Better to Keep | Why |
|---|---|---|---|
| Stacking cups | Yes | No | Easy to clean, fits many ages |
| Ride-on toys | No | Yes | Too big and personal |
| Board books | Yes | No | Lightweight and quick to trade |
| Plush animals | Sometimes | No | Check for loose eyes first |
| Shape sorters | Yes | No | Supports fine motor skills without bulk |
Another quick list helps when deciding what to offer:
- Soft stacking rings for 6-12 months.
- Simple wooden puzzles for 12-18 months.
- Large linking rings for toddlers.
- Fabric activity books that fold flat.
- One or two cars with no small wheels.
Matching Toys to Developmental Milestones
Swaps work even better when you match items to current skills. A toy that supports sitting might not help once crawling starts, so trade with that timeline in mind.
Check the Toys for Sitting Milestones 4-7 Months guide for examples that line up with real stages. Parents report smoother days when swapped toys line up with what their child is practicing right now.
Use this list to guide choices during the swap:
- 0-6 months: high-contrast rattles and soft teethers.
- 6-9 months: cause-and-effect toys like pop-up boxes.
- 9-12 months: push toys that encourage standing.
- 12-18 months: shape sorters and nesting cups.
- 18-24 months: simple pretend play sets with larger pieces.
- 24-36 months: building blocks and chunky crayons.
The CDC developmental milestones page offers a quick reference if you want to double-check what comes next.
Setting Up a Simple Rotation System
Once the swap ends, fold the new toys into your existing toy rotation method. Store half the toys out of sight and rotate every two weeks.
This keeps the play space lighter and gives every item a turn. Many parents use the same printable labels across swapped and owned toys so nothing gets mixed up.
- Mark each swapped toy with painter's tape and a date.
- Store out-of-rotation items in one labeled bin.
- Check the bin once a month and pull the next set.
- Return swapped toys on the agreed date.
- Wipe toys again before storing them away.
- Keep a short note of which child used each item most.
Common Mistakes to Skip
Do not swap anything with recalled parts or missing instructions. Check the safer toy choices guide for first-time parents if you want a fast reminder list.
Another easy miss is forgetting to wash items before the swap. A quick wipe with mild soap keeps everything parent-approved and ready for the next home.
Watch for these extra pitfalls:
- Trading anything with small magnets or button batteries.
- Forgetting to ask about allergies to certain materials.
- Overloading one family with too many items at once.
- Skipping the return date and letting toys pile up.
Tracking Swaps Without Extra Paperwork
Use a shared phone note or a simple group chat to list what went where. Add the return date right away so no one has to remember later.
Parents who swap monthly say this one habit stops the "where did that go" questions. It also makes it easy to plan the next round without starting from scratch.
Try this short tracking list for each round:
- Child's name and age.
- Items taken and items given.
- Condition notes at pickup.
- Return date and any follow-up needed.
Expanding Your Swap Circle Over Time
After the first successful swap, add one or two more families to keep ideas fresh. Ask current members to invite someone they trust so the group stays small and reliable.
A larger circle means more variety without extra cost. Keep the same safety rules and rotation habits so the system stays calm as it grows.
- Start with one new parent every two months.
- Share a short group message about what ages are represented.
- Rotate meeting spots to share the hosting load.
- Keep a running list of toys already swapped to avoid repeats.
Finding the Right PDF Guide for Your Stage
If you want printable checklists and labels that match the ages in your swap group, look at which PDF play guide fits your family right now. The guides stay short and focus on real daily use.
You can print the checklists once and reuse them for every swap cycle.
Conclusion
Start small this week with one or two parents and one short safety check. The payoff is fresher play, fewer toys on the floor, and a calmer space that actually works for your family. Grab the PDF guide that matches your child's stage and add the swap dates to your calendar today.
Next steps
- Text two parents and set a date this month.
- Run the five-step safety check on your current toys.
- Print a simple rotation checklist.
- Schedule the return date before the swap happens.
- Add one new family after the first round succeeds.
- Note which toys sparked the longest play sessions.
FAQ
How often should we run a toy swap with other parents?
Most groups meet once a month. That gives kids enough time with each toy without the swap feeling like a chore.
What if a toy gets damaged during the swap?
Agree on a simple rule at the start: the borrowing parent replaces or returns the item in the same shape. Clear talk early prevents hard feelings later.
Can we include toys for different ages in one swap?
Yes, but sort them by age group first. Label each pile so parents pick only what fits their child right now.
Do we need to wash every toy before trading?
A quick clean with mild soap and water is enough. Focus on surfaces kids touch most. Skip anything that cannot be cleaned safely.
Where can I find more parent-tested checklists for swaps?
Our short PDF guides include ready-to-print labels and rotation sheets that work across swapped and owned toys. They keep the system simple and calm.